For student year
Helps students to
- transition smoothly
- understand expectations
- learn new concepts
Helps teachers to
- visually organise activities
- ease transitions
- use fewer verbal prompts
Summary
For the secondary school version of this practice, go to:
Use visual schedules (Years 7 to 12).
Visual schedules are words, pictures, or visual representations (such as a timetable) of the sequence of activities or events that will happen over a specific time to help students understand what the lesson, day, or week holds for them.
Visual schedules can be varied to suit the needs of your whole class or can be individualised for each student. Schedules come in many forms — from all-day planners on the whiteboard to personalised instructional sequences.
Visual schedules help students understand what they’ll doing when and what’s expected of them. Schedules reassure students and help teachers visually organise their day and communicate non-verbally. Using visual schedules promotes and supports learning and inclusivity.
This practice looks at different types of visual schedules and how to apply them in the classroom
"Visual schedules help provide clarity and clear instructions to your students so they understand when to go and where to go."
“It’s a really simple thing, but I really like when the teacher writes the schedule on the board, so I can see what I need to be doing right now (cos sometimes I forget) and also what we are going to be doing next. It makes me really anxious when I don’t know what I am supposed to be doing”. Autistic student
How the practice works
Watch this video to learn more about visual schedules.
Duration 3:38
Australian Professional Standards for Teachers related to this practice
4.1 - support student participation
4.2 - manage classroom activities
For further information, see Australian Professional Standards for Teachers AITSL page
Preparing to teach
What is a visual schedule?
A visual schedule, such as a timetable, is a visual representation of what activities will occur and in what sequence.
Visual schedules can support:
Visual schedules can support:
• receptive language difficulties (trouble grasping the meaning of words, seen and heard) by keeping a table of activities to complete
• retention and recall of information, as remembering verbal instructions can be stressful and difficult for some students
• predictability
• understanding the daily schedule and sequence of activities
• development of planning and organisational skills.
Visual schedules support every student in understanding the daily schedule and sequence of activities.
Why do visual schedules work?
Some students, especially those on the autism spectrum or those with anxiety, may have difficulties transitioning between activities.
Knowing what’s coming next and when, as well as having this information visually available at all times can ease anxieties and support students to transition between activities or subjects. Visual schedules can be adapted and used across all year levels.
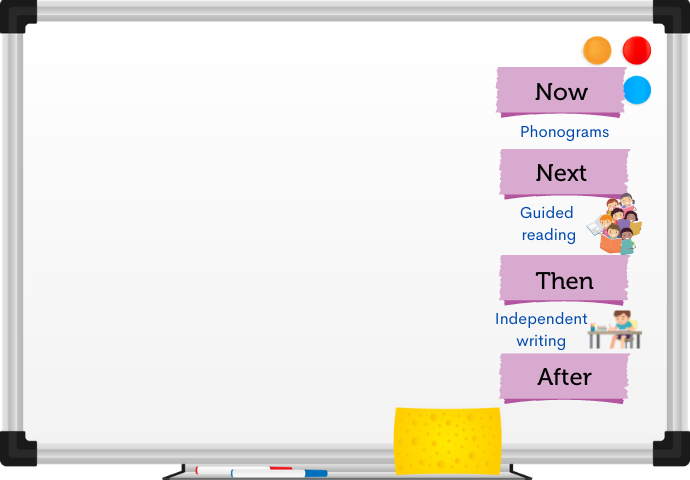
Visual schedules can be used across all year levels. Showing the sequence of activities that will occur in a lesson helps students to know what is coming next, the time allocated for activities and the type of activities they will engage in.
It works better if:
- you refer to the schedule frequently or at the same time each day (e.g., after morning roll call)
- you use a mix of visuals and words
- the activity sequence doesn't change without prior warning
It doesn’t work if:
- the use of the visual schedule is inconsistent
- there's too much visual clutter around the visual schedule
- it's not at the reading/comprehension level of your students
In the classroom
Visual schedules - a student's perspective
In this video a students talks about visual perspectives and why they are helpful.
Duration: 2:04
How to create visual schedules
When creating a visual schedule, consider:
- whether to use words and/or pictures, depending on your students’ comprehension and reading ability.
- the appropriate number of activities to include depending on your students’ processing abilities. This may mean you have: morning/middle/afternoon session timetables that cover a day's subjects, or separate morning/middle/afternoon session timetables plus a full-day timetable.
- providing all students with a visual schedule; whether it's individualised on their desk or in view of the whole class
- using a consistent format, e.g., left to right, top to bottom, or in a grid.
Using prompts
Verbal prompts for the whole class: 'Check your schedule'
Prompt all students in the class to transition from one session to another by saying, ‘Check your schedule’, or a similar simple instruction that suits your style – try to keep it consistent.
Individualised prompts
If a student has a personalised timetable on their desk, they may need an individualised prompt as well. An example of a nonverbal prompt would be to stand close to their desk and draw attention to their schedule as you give the instruction to the class.
Some students may need a cueing system (such as a traffic light system or a visual countdown) to help them anticipate transition.
Considerations
Consider the age and skills of your students when you design your visual schedule.
- younger students may benefit from short session schedules, with the activities divided into morning, middle and afternoon and only shown at the appropriate time.
- older students may benefit from more individualised support in how to use their weekly timetable in their diary, such as using colour-coding for different subjects.
The videos below show a visual schedule from a Year 1 classroom and how a Year 6 teacher uses a visual timetable with her class
Individual visual schedules
In this video a Year 1 teacher demonstrates how they use an individualised visual schedule to support the student engage with and transition between activities.
Duration: 1:09
Whole class visual schedules
In this video a Year 6 teacher discusses how they use a visual schedule for the whole class. Note how the teacher uses colour to highlight and identify activities.
Duration: 1:39
Transition support strategies
Countdowns
Some students will need to see how long they have left until the current activity ends – using a timer for this can work. Other students may respond well to a visual countdown, especially if the student becomes focused on how many minutes of the session remain.
Traffic lights
Traffic lights indicate to students where they are up to when completing and transitioning between activities. Pointing the arrow at different lights indicates different things. For example, point the arrow at:
- the green light when the student is working on the current activity
- the yellow light to indicate that the current activity is going to end shortly
- the red light to indicate that the student should stop the current activity.
Practice toolkit
Practice implementation planner template
We know it's not always easy to keep track of what's working and what isn't. So, we've created this template for you to record and reflect on what you're doing to create more inclusive classrooms. The implementation planner contains:
- guidance around goal setting
- a reflection section (what worked, didn’t work, what to change, and next steps)
- prompting questions.
Implementation planner with examples
Set your professional learning goal for:
Use visual schedules
Benefits of goal setting
Setting, working towards, and reflecting on goals helps you grow professionally and improve your practice. You can access AITSL learning resources for teachers to learn more about:How to set goals
The Australian Institute for Teaching and School Leadership recommends using the SMART matrix to frame your goal setting.SMART goals refers to goals that are:
- Specific
- Measurable
- Achievable
- Relevant
- Time-phased
Resources
Visual schedules - weekly timetable
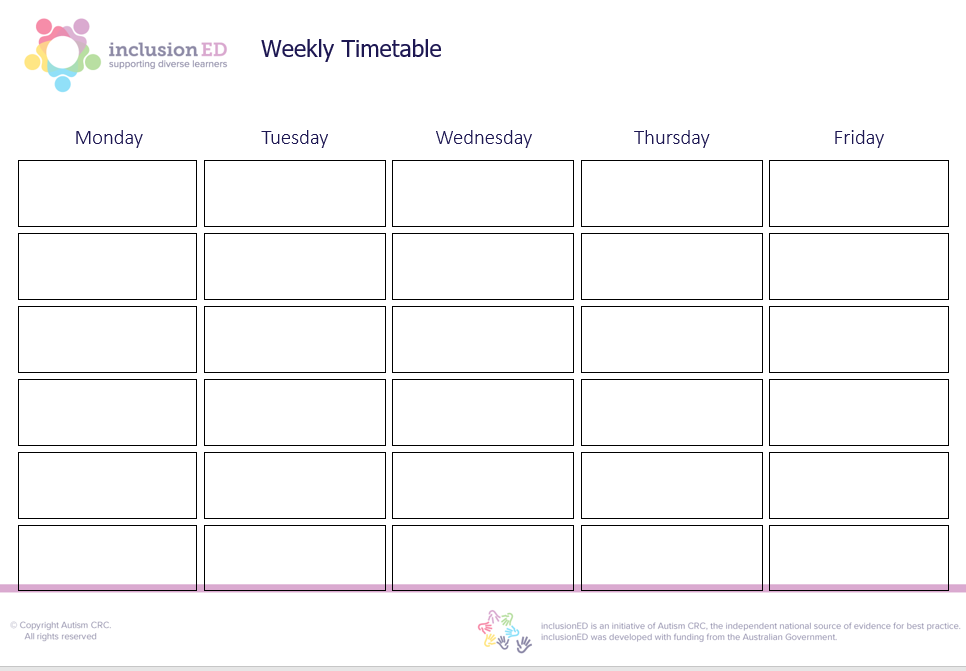
Weekly timetable
Visual schedule: Morning, middle, and afternoon sessions (three activities per session)
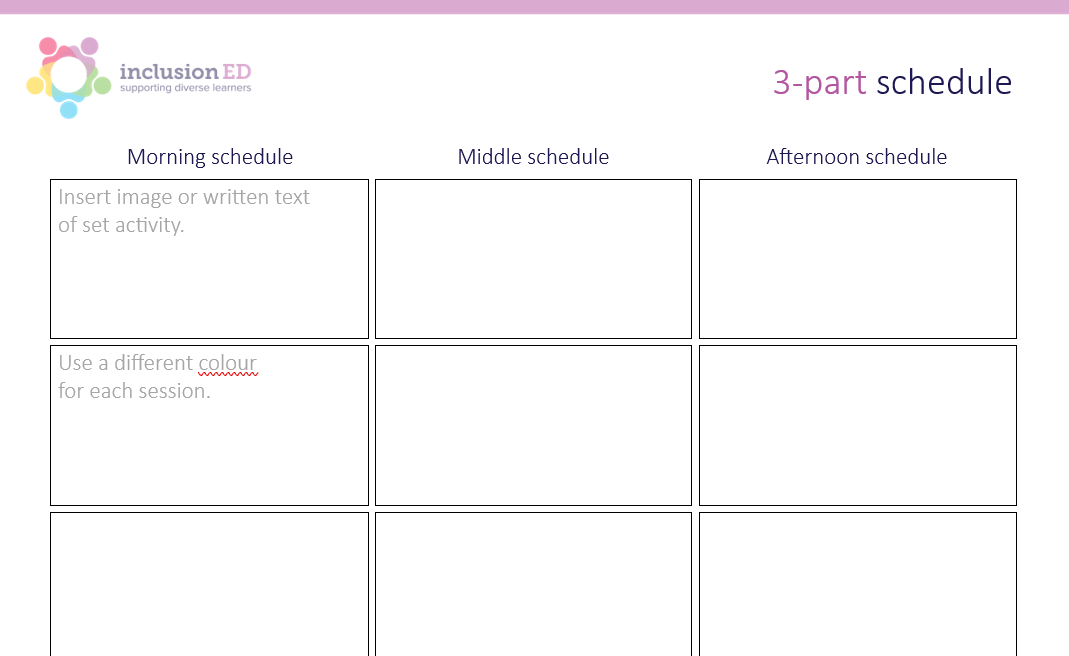 This template contains three columns showing morning, middle, and afternoon sessions with three blocks in each column. It is ideal for students who transition between up to three activities in a single session across the day.
6-part schedule.docx
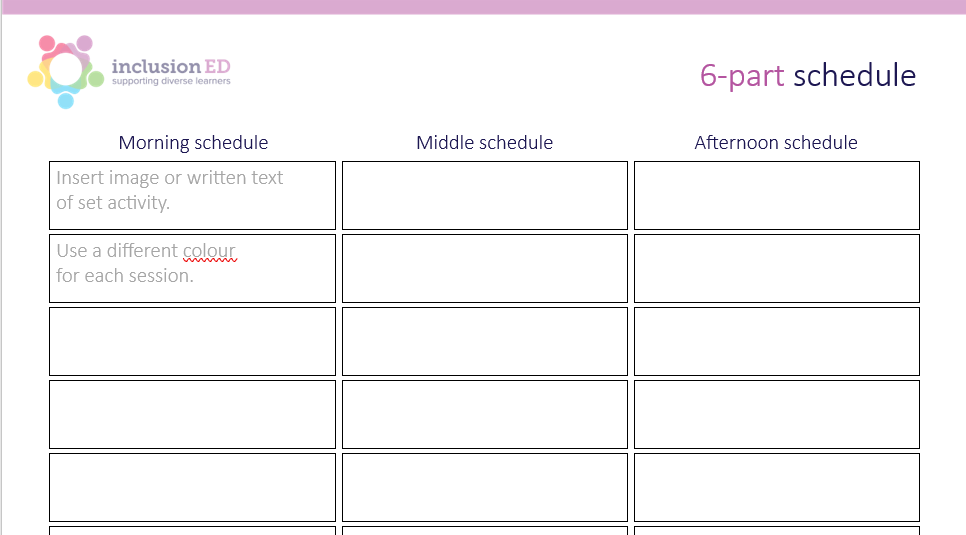
This template contains three columns showing morning, middle, and afternoon sessions with six blocks in each column. It is ideal for students who transition between up to six activities in a single session across the day.
Visual Schedules - First-then (move between 2 activities)
This template supports students who are transitioning between two activities.
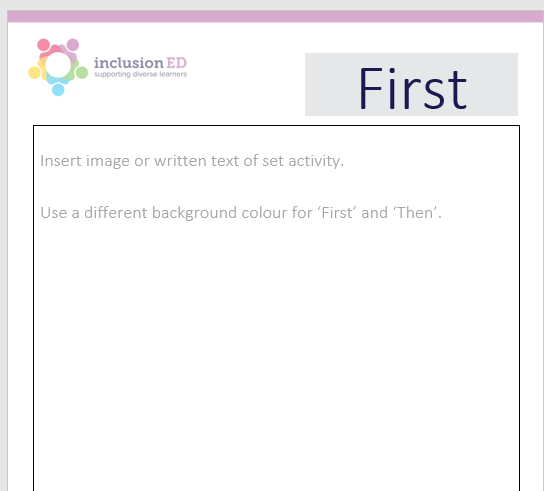
Visual schedule: 'First, then' – columns (move between four activities)
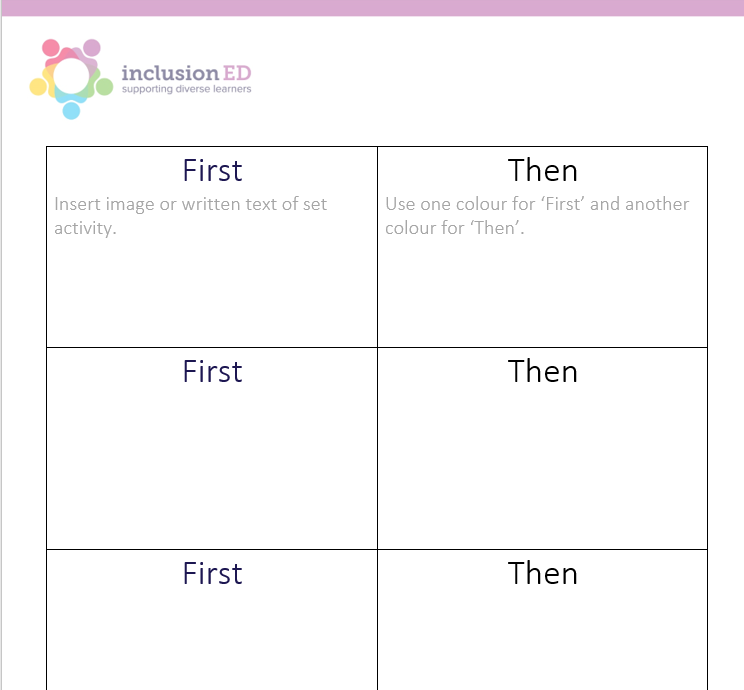
This template supports students who are able to transition from a 'first' activity to a second ‘then' activity. Columns under ‘first’ and ‘then’ allow for up to four activities.
Traffic lights transition cue
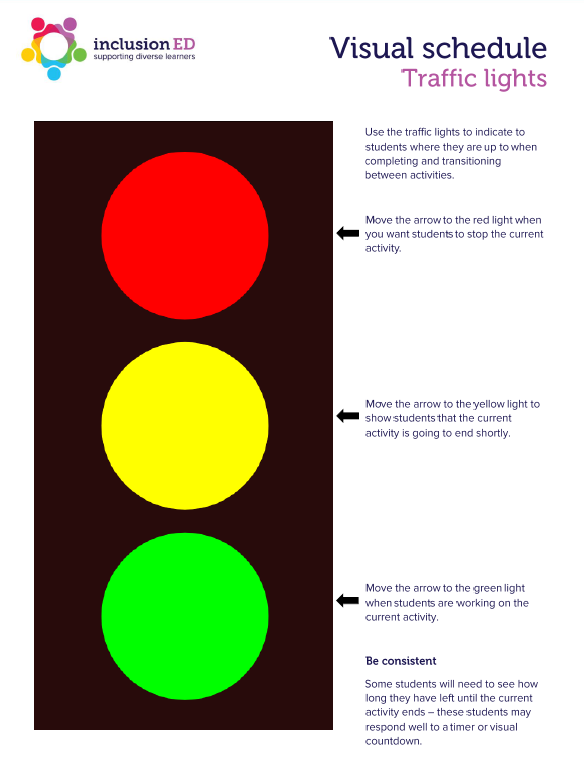
This template contains a traffic light visual to cue students for impending transition.
Related Practices

Use visual self-management tools
TEACHING PRACTICE
For student years
Helps students to
- build greater independence
- maintain on-task behaviour

Use visual supports to increase understanding
TEACHING PRACTICE
For student years
Helps students to
- learn new concepts
- follow lengthy instructions
This practice is from the core research project
Learning Cycle
